We've ensured that Eventogy allows you to track event and user data, which then can be put into an Excel spreadsheet and used for future analysis. We've designed the Report module in a way that you can take all of this data easily and quickly off Eventogy.
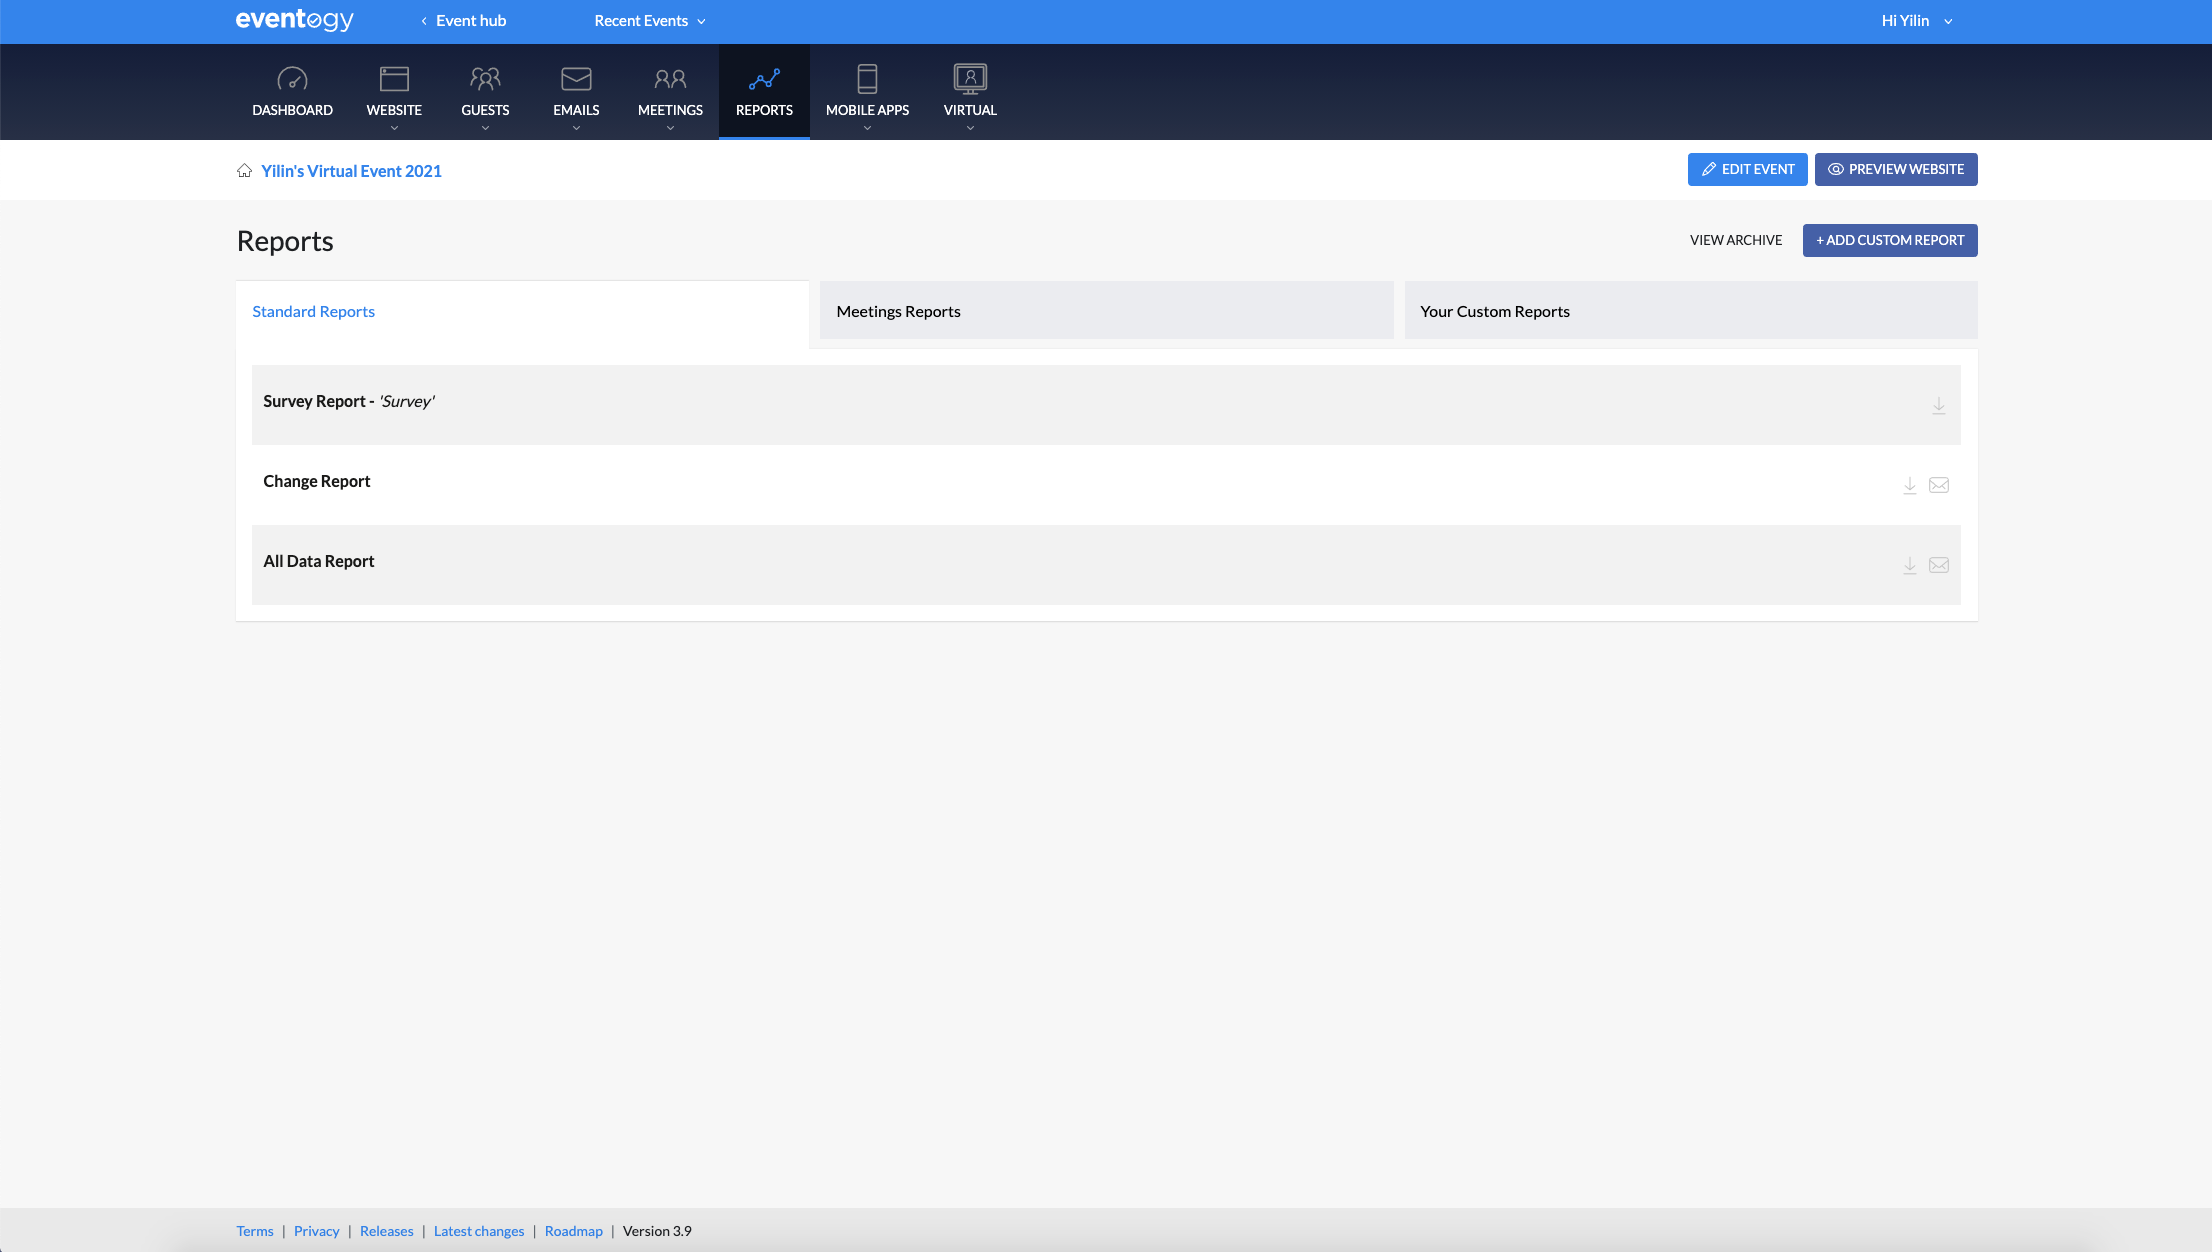
To access the Report module, click 'Reports' on the top navigation bar.
When you first open the Reports module, you would notice that Eventogy has generated three reports already, 'Survey Report', 'Change Report' and 'All Data Report'.
- Survey Report is the report for any survey created within this event on the platform.
- Change report would have all the changes made to your Event and who made those changes.
- All Data Report has you're all of your guest list information you have collected from Eventogy.
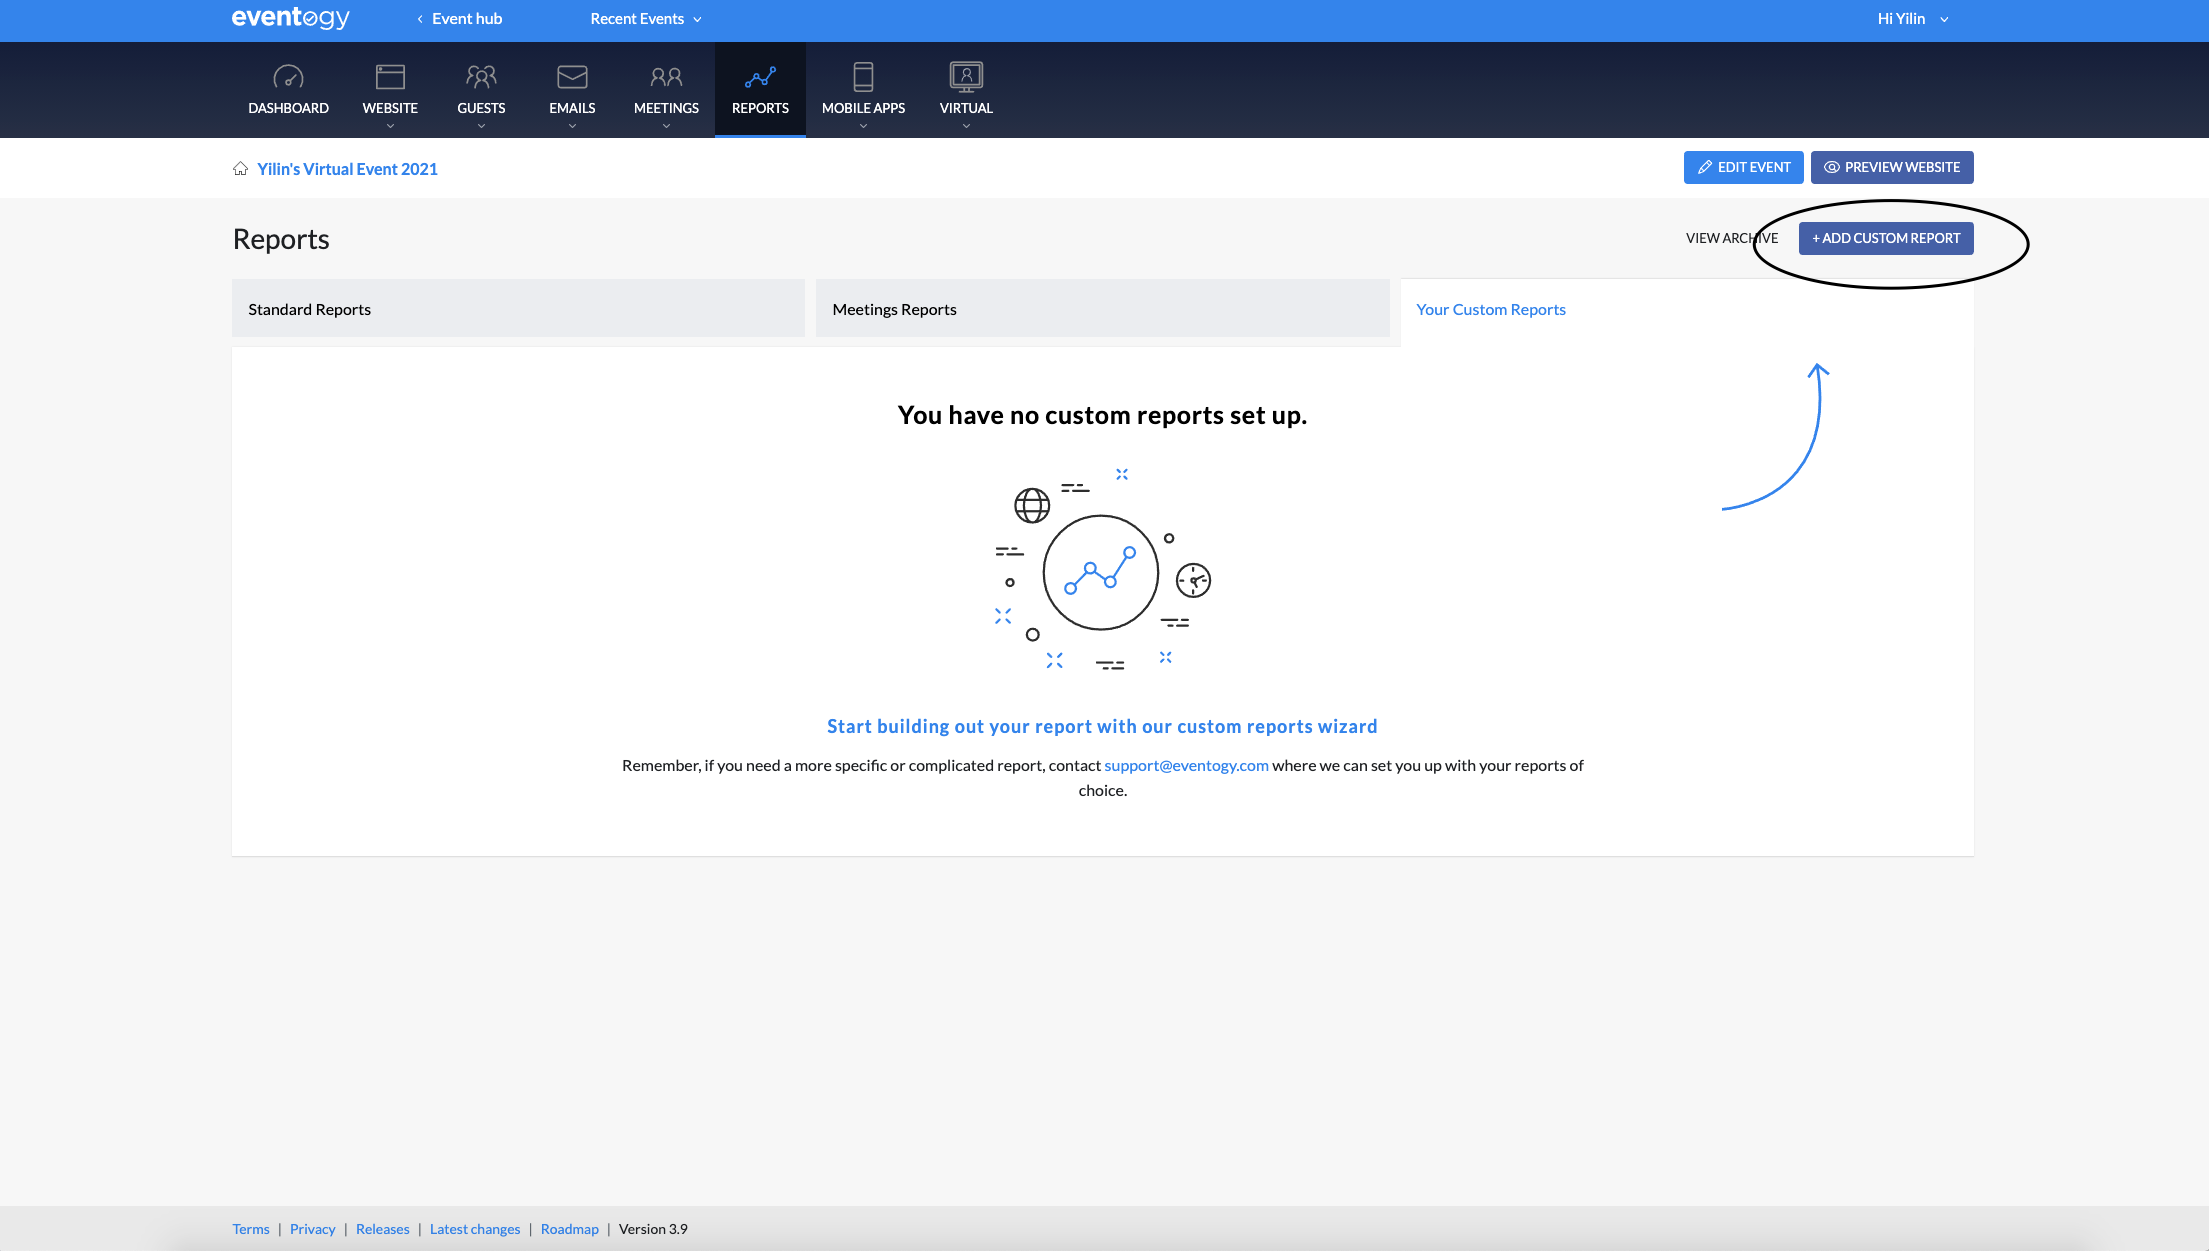
Build Your Own Report
To build your own report, click ‘Add Report’ button on the top right corner.
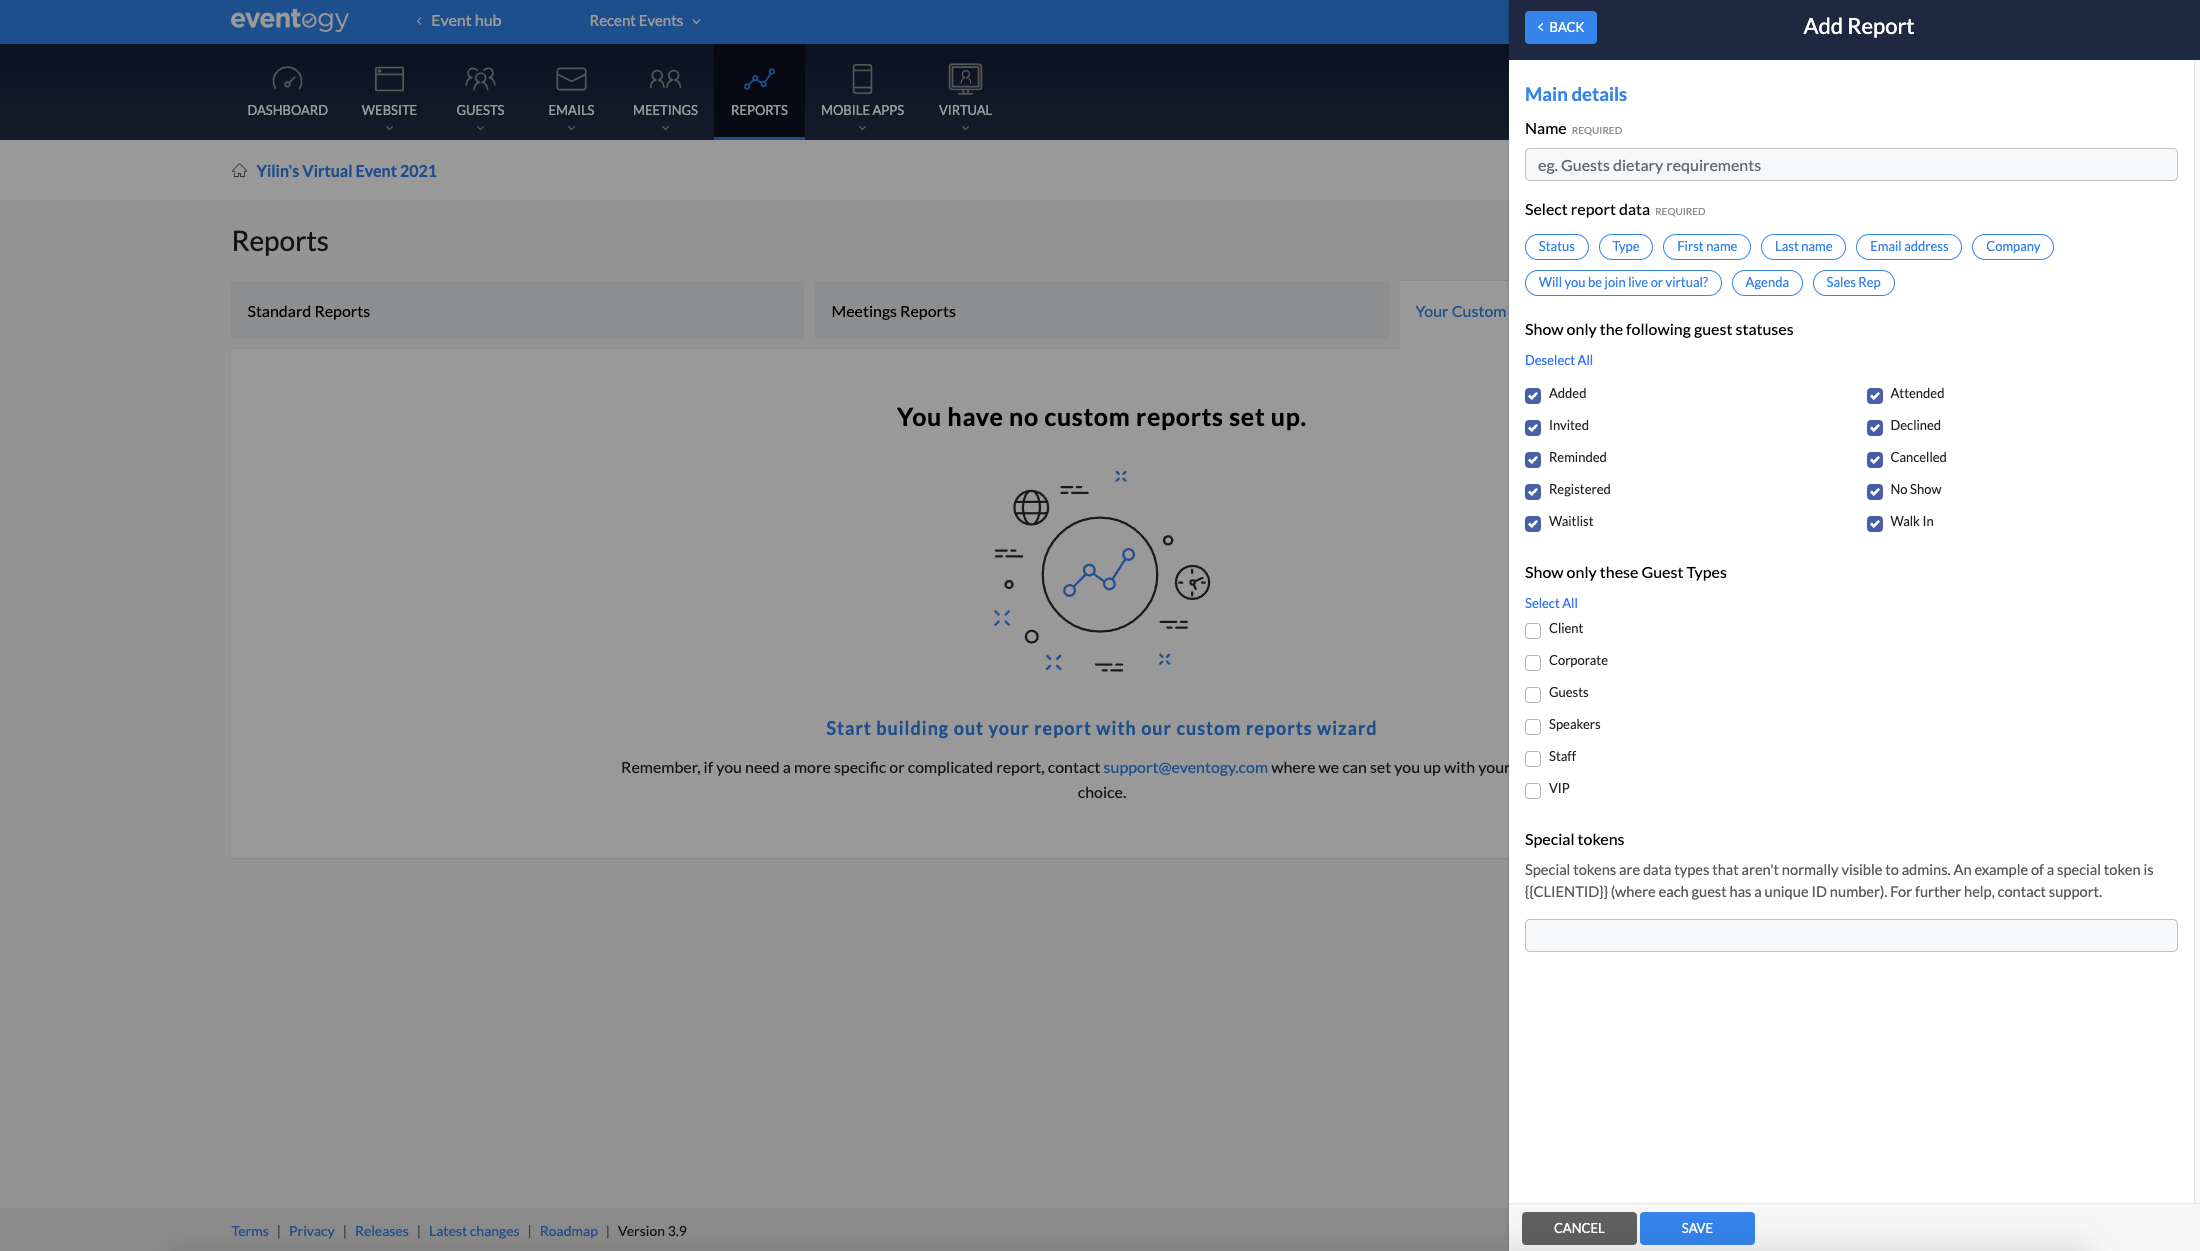
It would then bring up a form builder for you to select data filters to include in your report.
Click the ‘Save’ button at the bottom of the form to continue creating the new report.
After clicking ‘Save’ button, you will then receive a status message confirming that you have successfully created one form and your newly created form should be listed on in the Reports module.
You can then email, download, edit or archive the report by clicking the corresponding icons next to your report.
Delete a Report
Made too many reports? To delete a report, you need to archive the report first.
Click the ‘Archive’ icon next to the report you want to delete.
A security box would come up to confirm if you want to continue archiving the selected report. Click ‘Archive’ to continue archiving the report.

It would then give a status messages confirming you have successfully archived the report.
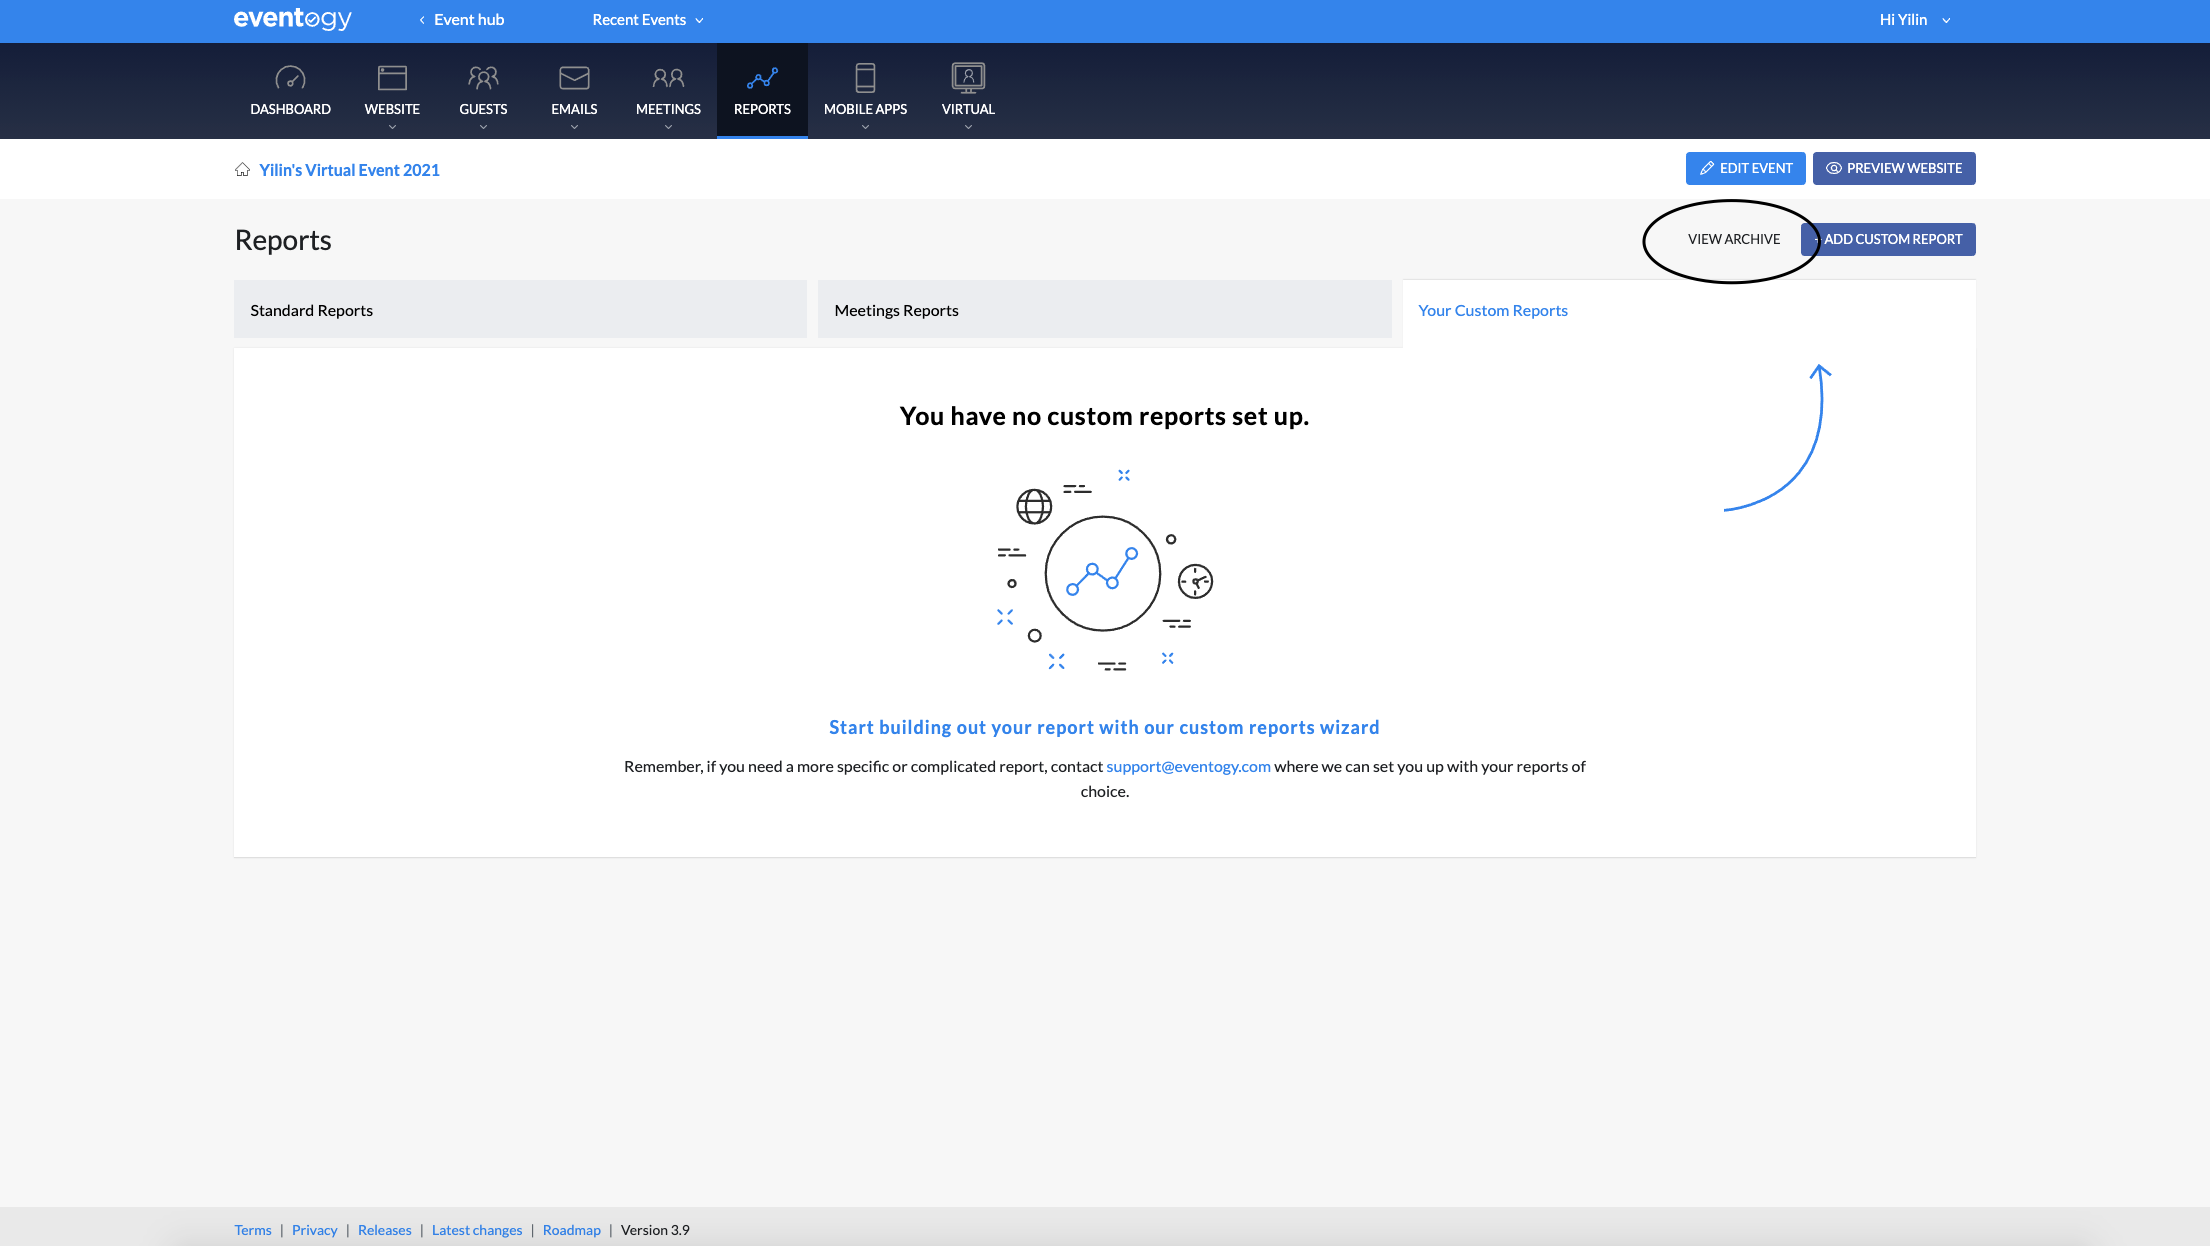
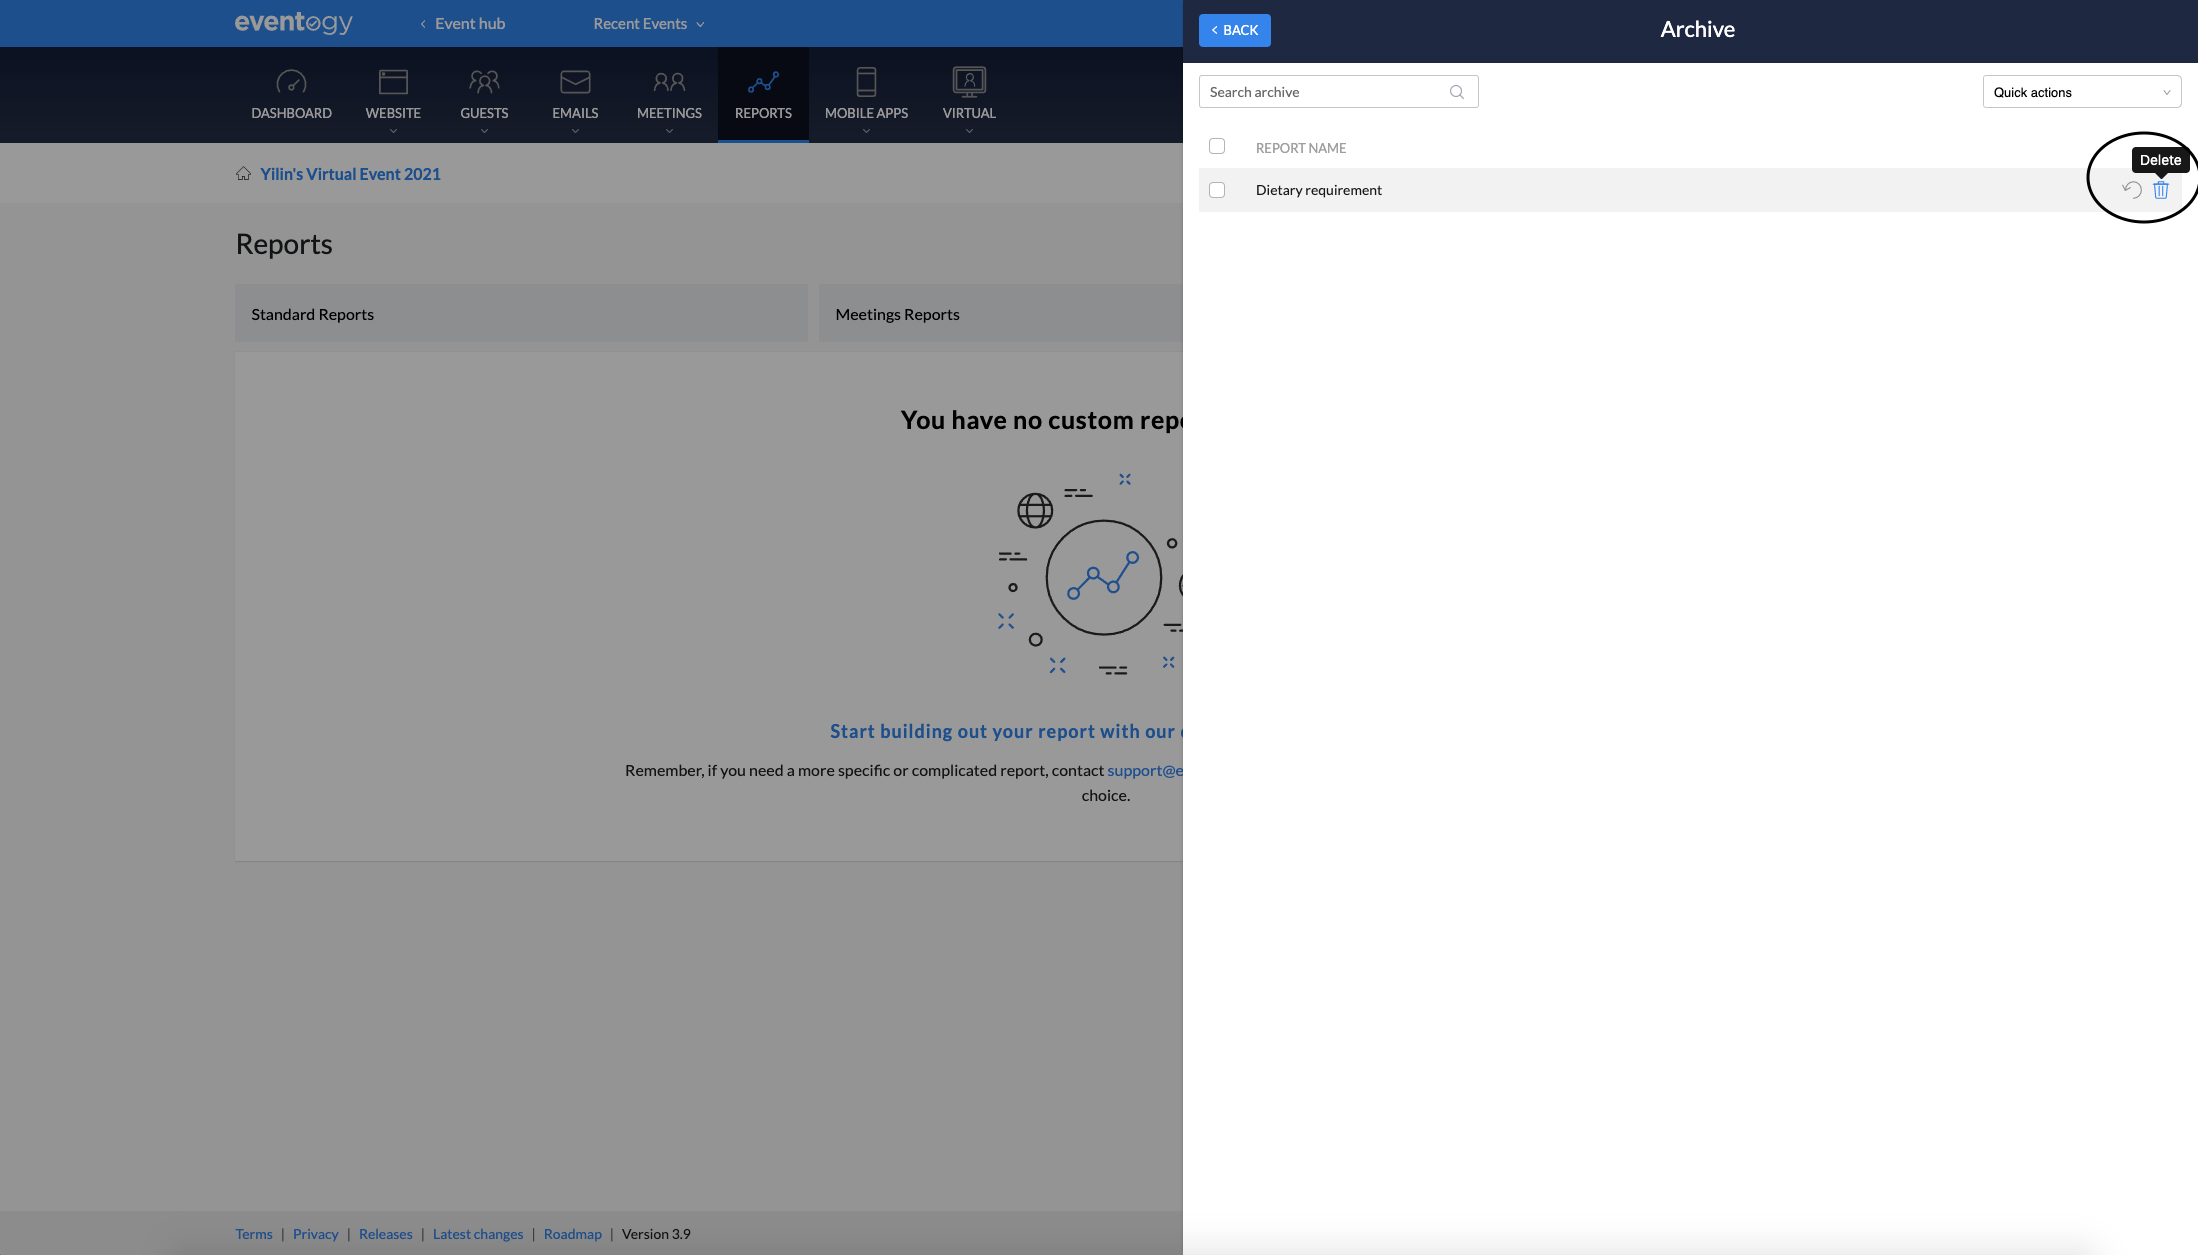
After clicking the ‘Archive’ button, access the archived list by clicking ‘View Archive’ link on the right-hand side of the screen.
After clicking the ‘View Archive’ it would then bring up all of the reports you’ve previously archived.
Click the bin icon next to the report you want to delete.
A security box would then come up for you to confirm if you want to continue deleting the selected report. Click ‘Delete’ to continue deleting the report.
After clicking the ‘Delete’ button, you will be redirected back to Reports, and you will get a status message confirming you’ve successfully deleted a report.

Comments
0 comments
Article is closed for comments.