
What is a Virtual Account?
The Virtual Account can be used to connect WebX and/or Zoom in order to facilitate two way video.
How it works?
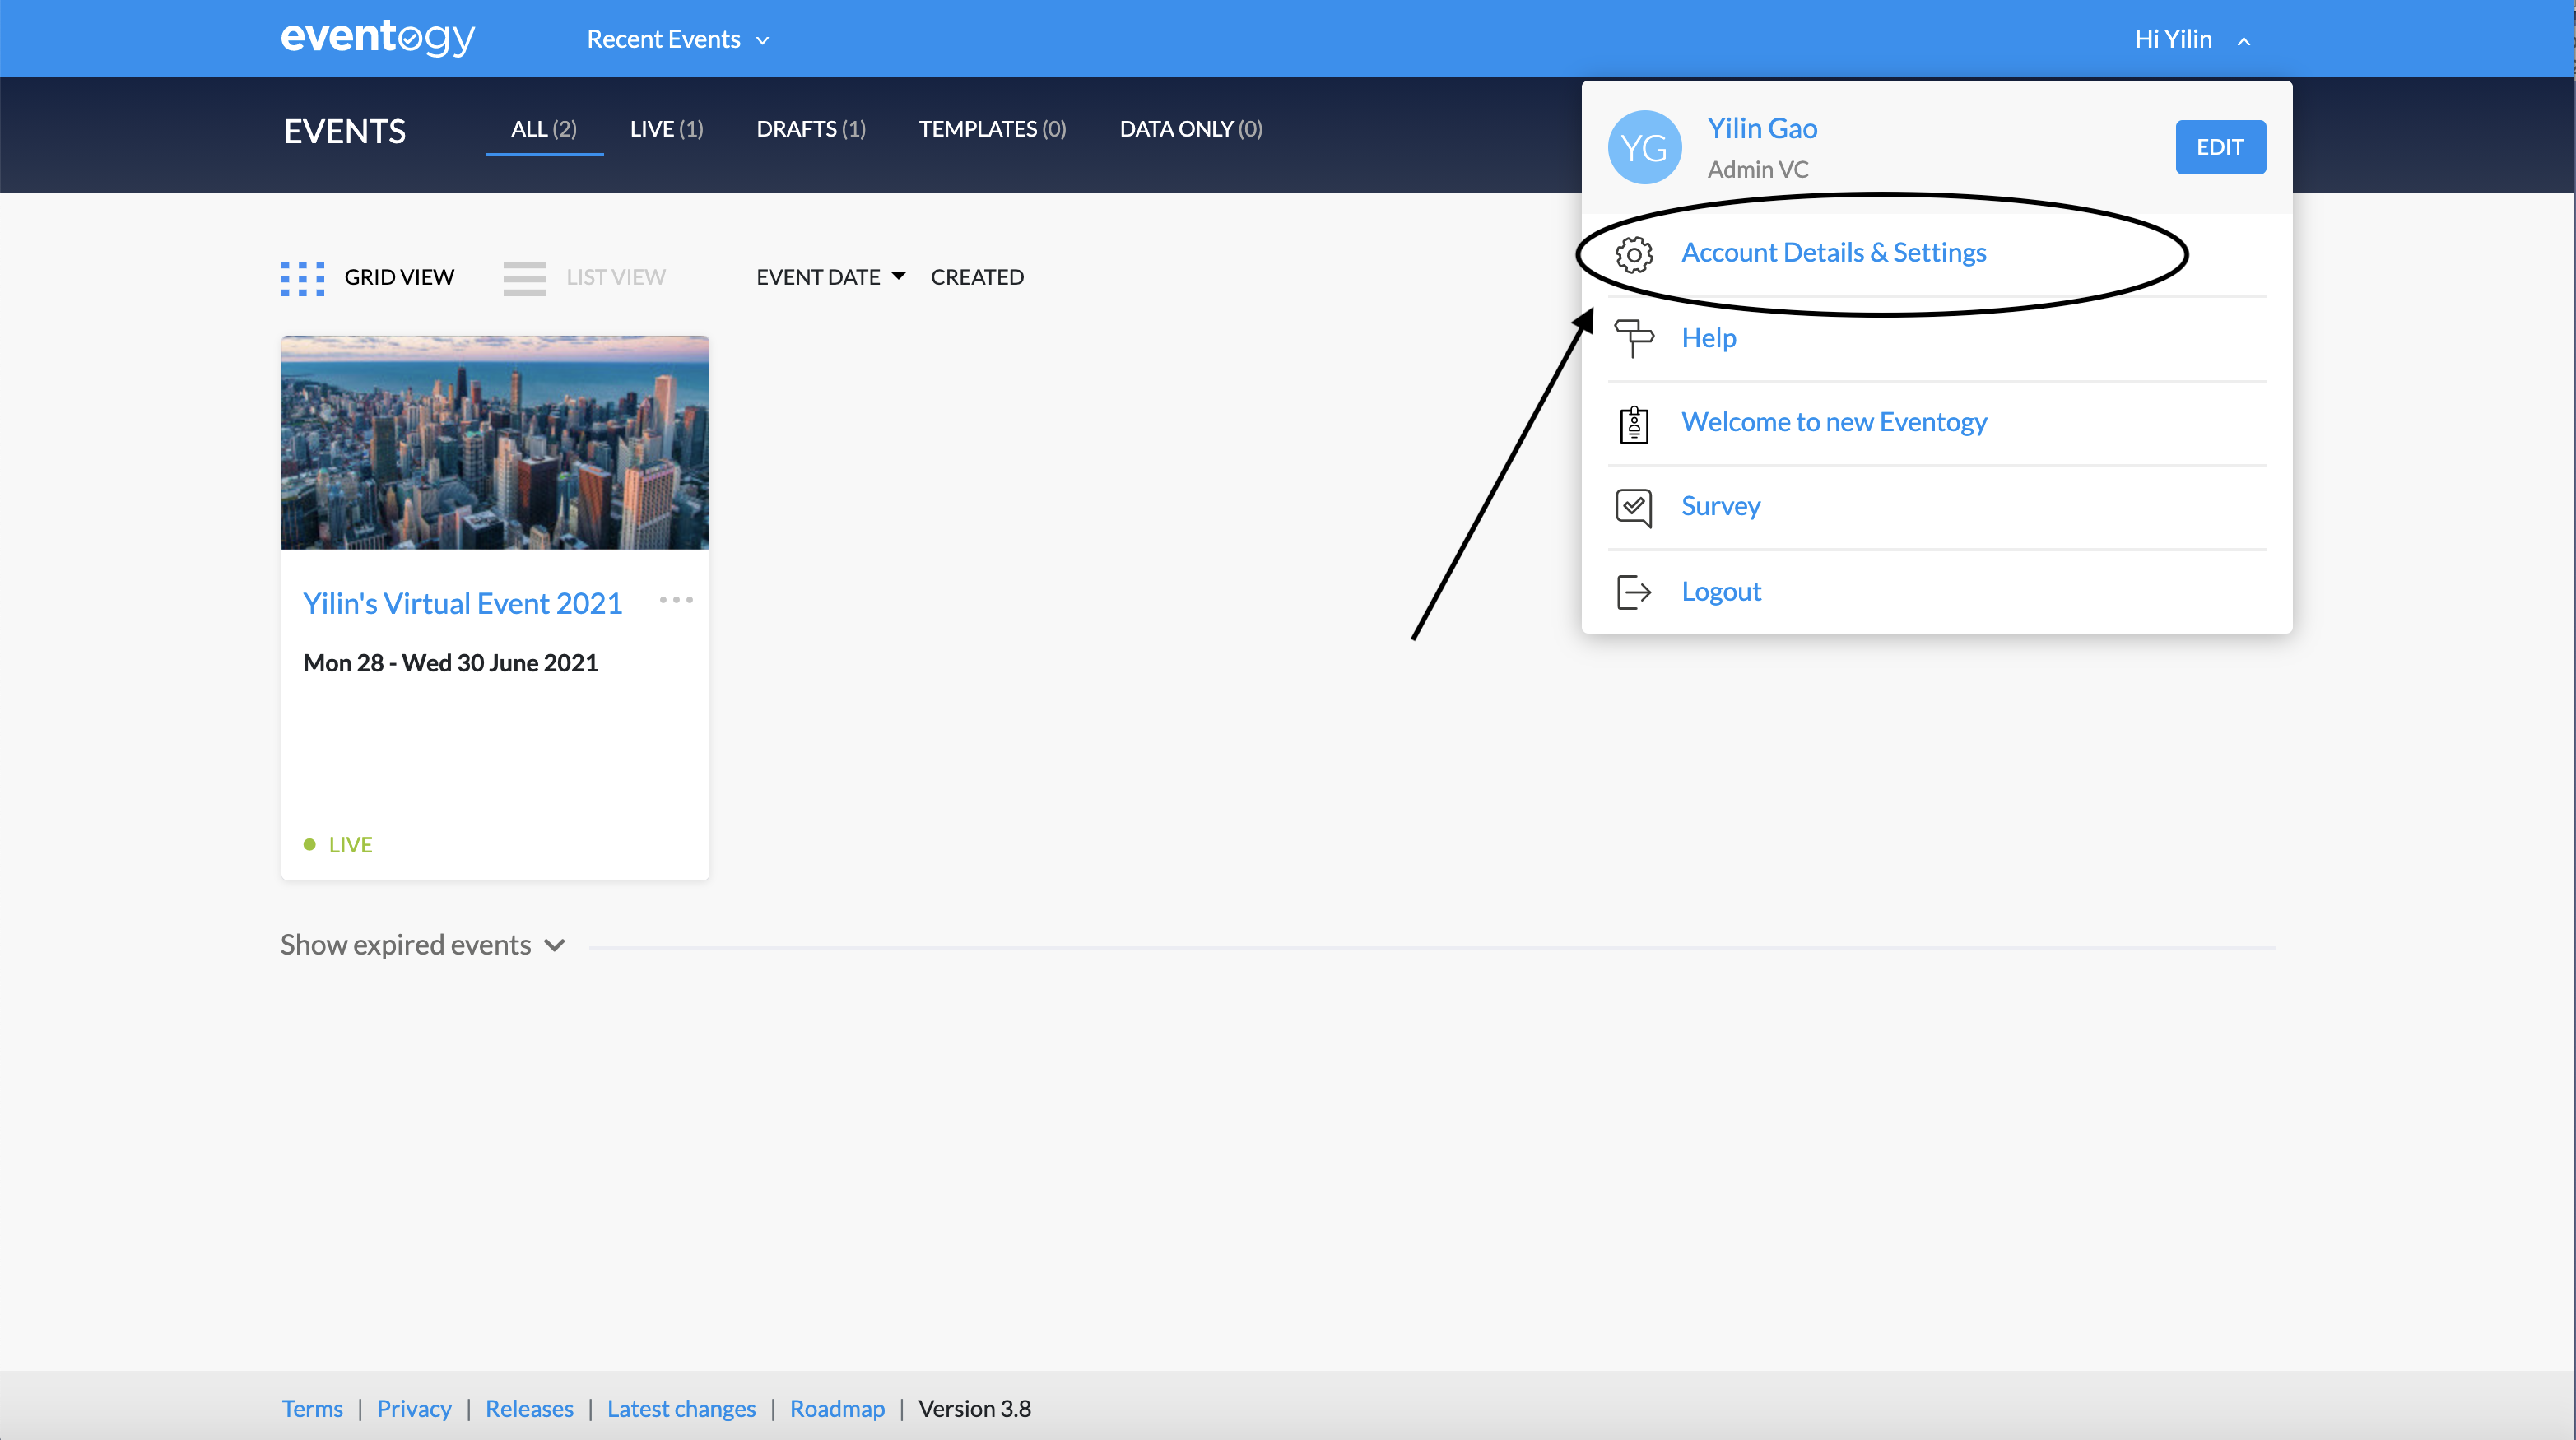
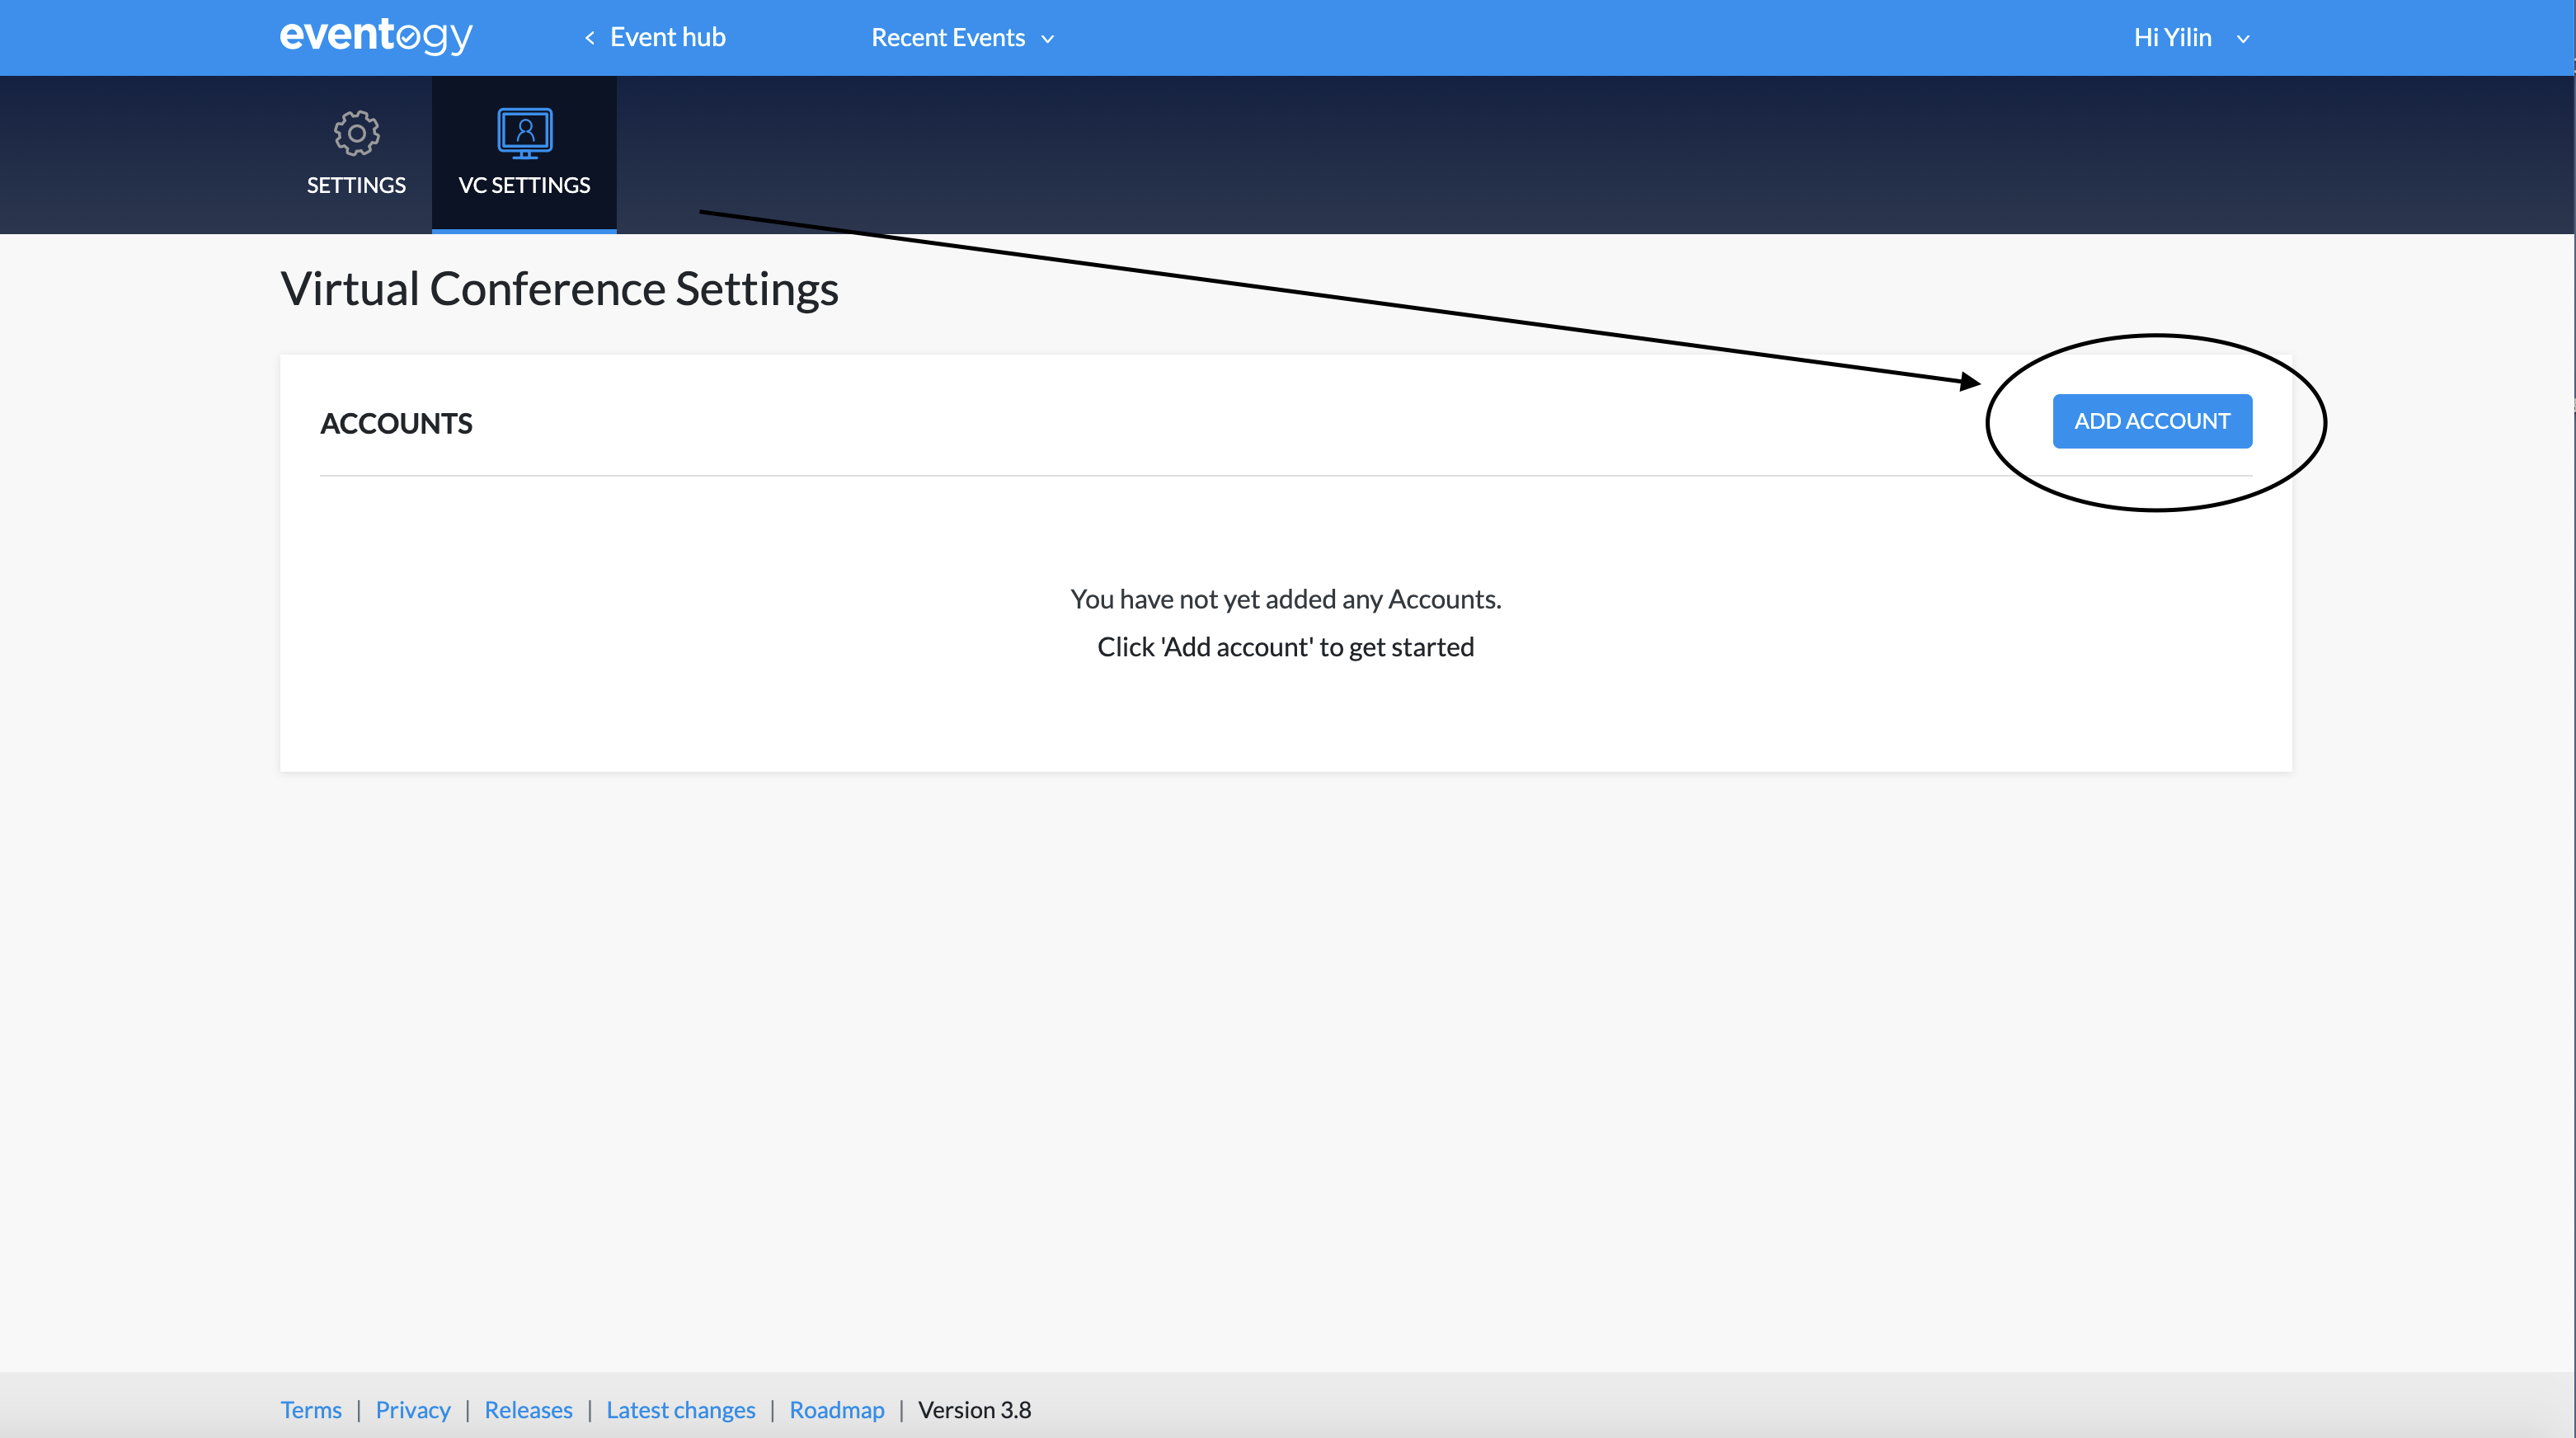
The Virtual Account can be accessed through the top right menu, under account details and settings. You can add or edit virtual account in the Virtual Conference Settings. The account(s) will be available for any event, however individual access permissions can be set for each account.
Each account has two sections, the Settings - Account Details and the Settings - Account Settings.
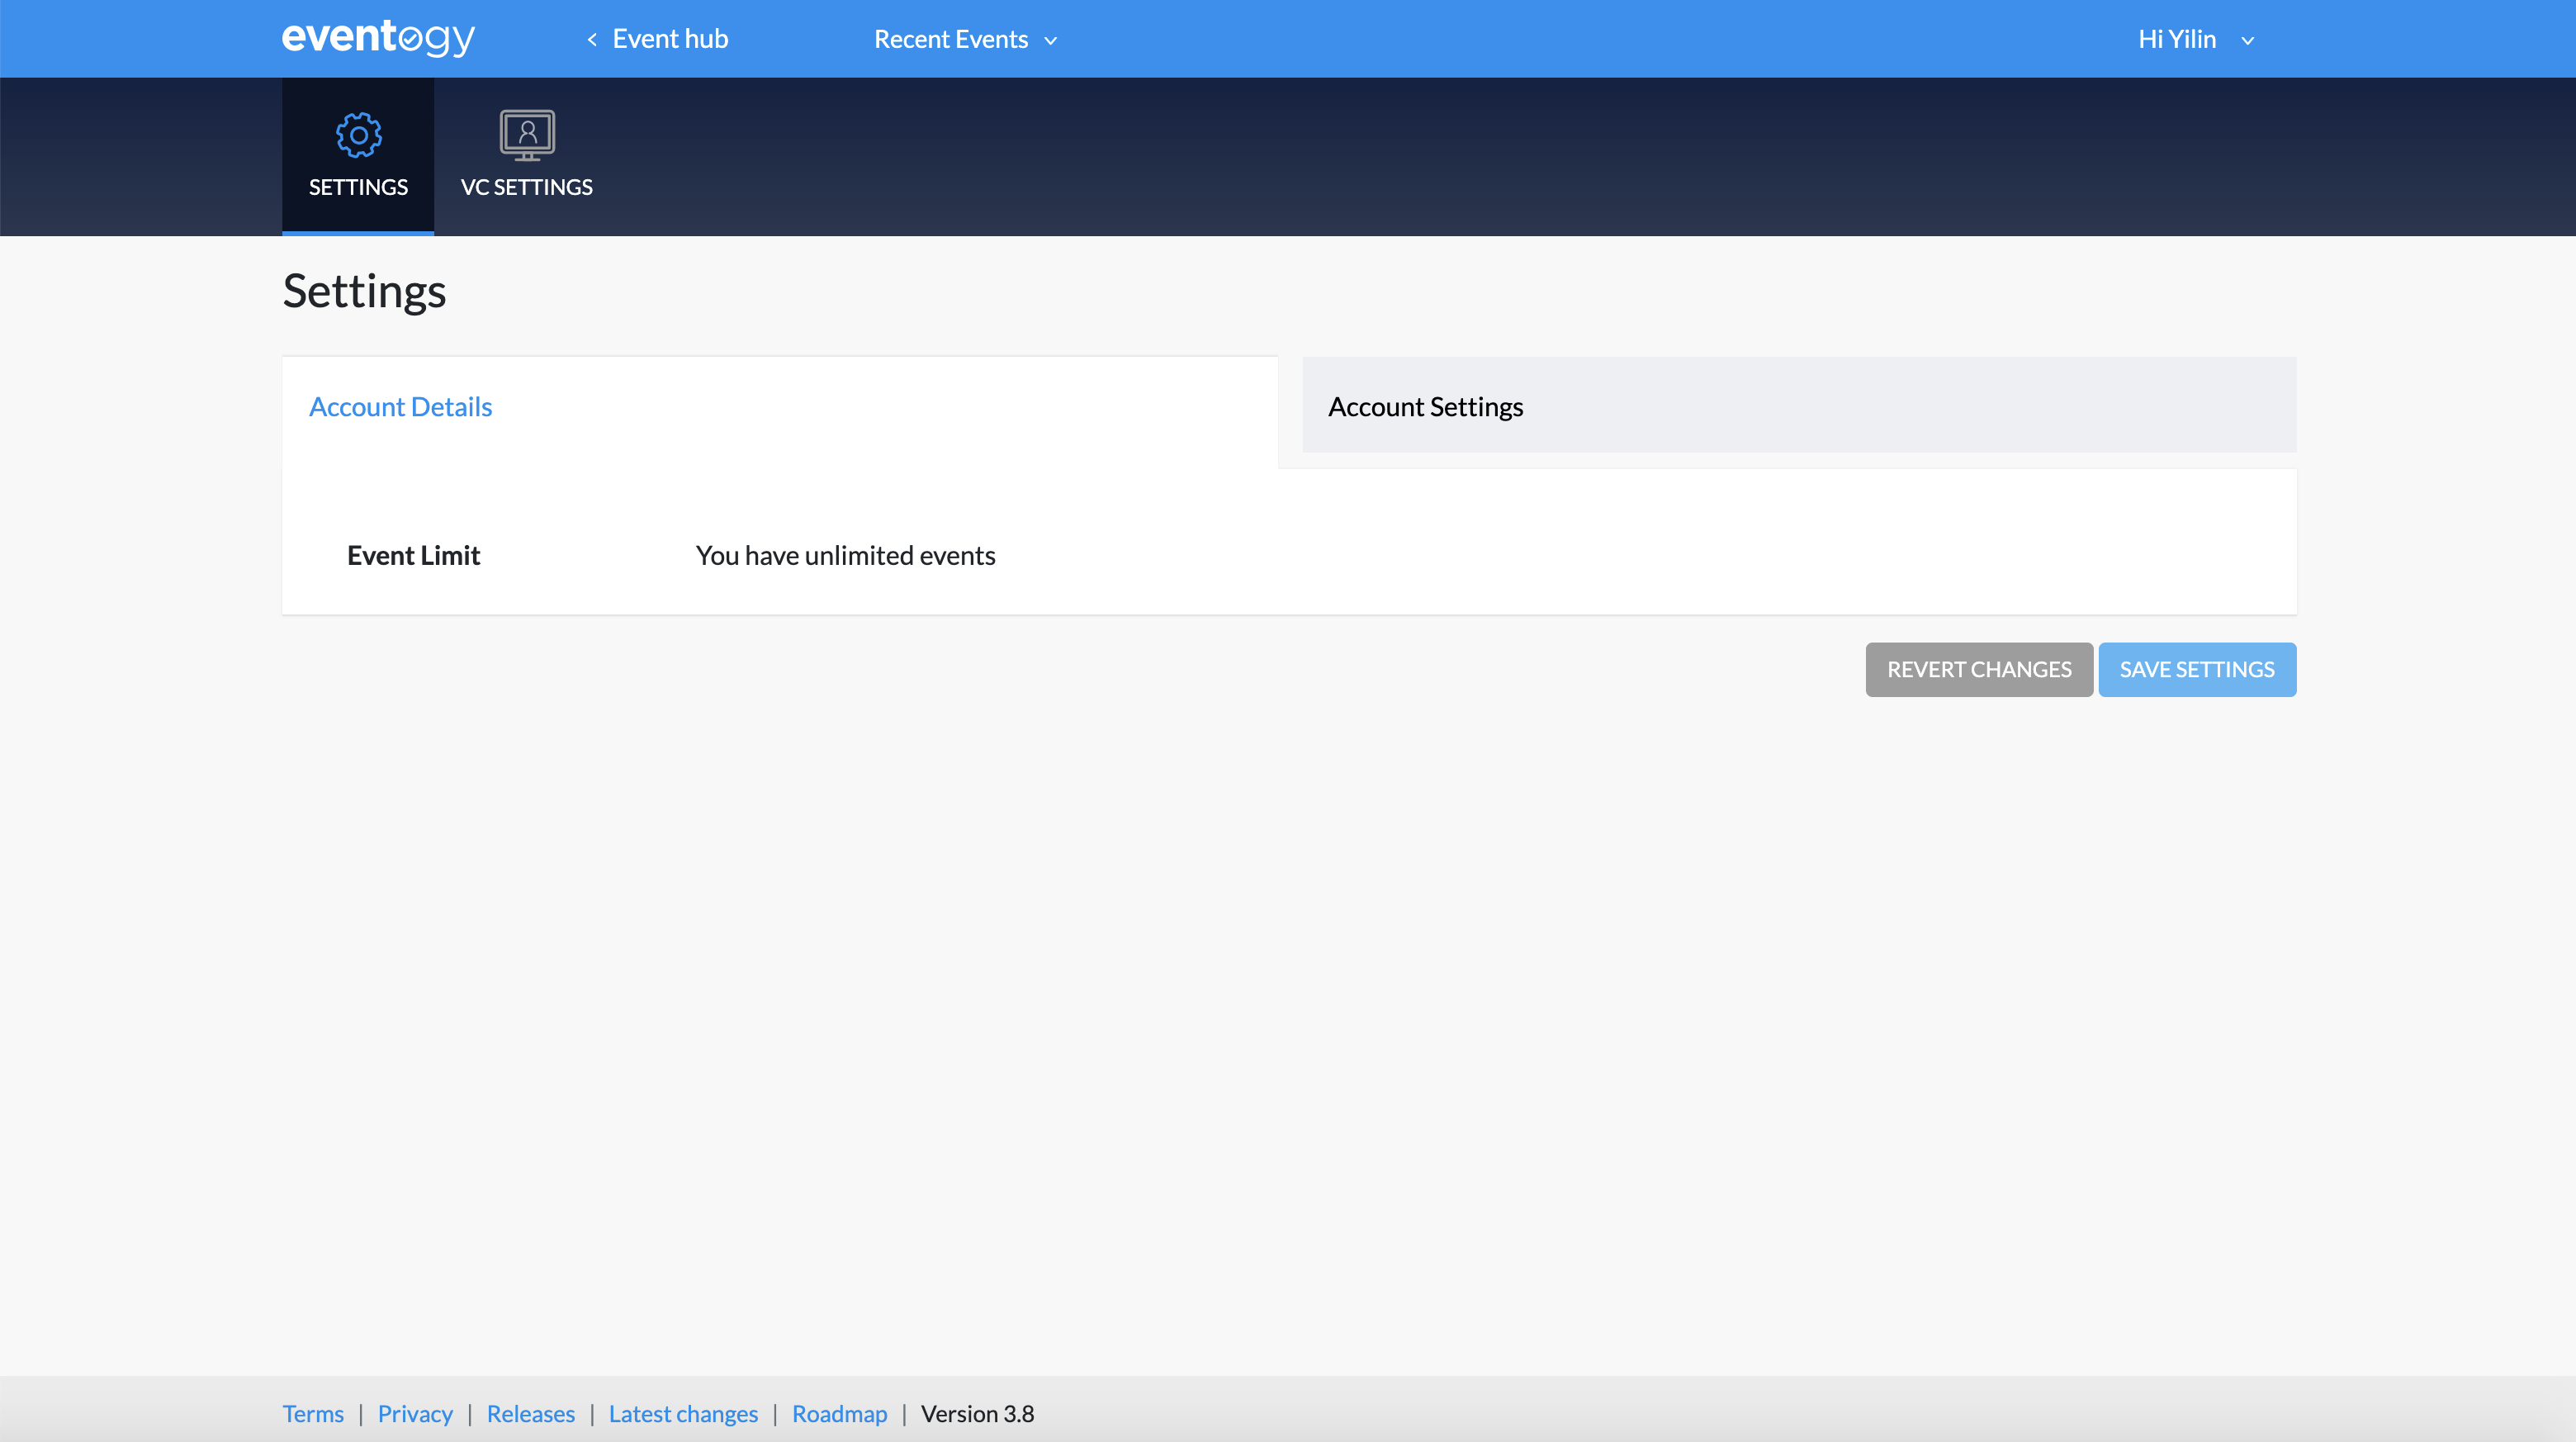
Account details
The account details holds the information that defines where and who can use this account:
Platforms
Platform can be either WebEx or Zoom, and will define what sort of Account settings are required, as well as define what time of meeting will be created when using this account.
Account
Stores the display name that will be seen on the platform when given the option to choose an account.
Status
Status defines if this account can be used or not.
Individual admin permissions
IAPs determine if an individual platform admin has the permission to use this account. If this admin has Virtual Account read/write permissions, they will see this account in the global accounts section.
Admin teams permissions
Similar to the individual permissions, this defines if all admins in a particular team have access to this account.
Account settings
Depending on the account platform, different settings need to be completed in order to configure the virtual account.
WebEx
The WebEx integration requires two sets of credentials: Integration and Guest Issuer. These directly correspond to an Integration and Guest Issuer created on the WebEx platform. These only need to be created once, from one of the Host available in the WebEx licence, and can be used for multiple Virtual Accounts on Eventogy.
The Integration is the main API connection point, and is needed for everything from creating a meeting to hosting it. In order to active this, the 3 fields need to be copied from the WebEx Integration and the Authentication process needs to be stared, in which the Integration is given permission to be used on Eventogy, returning the tokens that can be used for 90 days - we use the Main token for all the API connections we make. If this token expires, we use the Refresh token to get a new Main token (automatically, no user input needed), and also extend the life of the Refresh token. If the Refresh token is not used until it expires (90 days to begin with), the authorise process mentioned earlier needs to be repeated allowing Eventogy to get a new set of tokens.
The Guest issuer details are used to create a “guest” on the WebEx meeting, corresponding to each user that connects to the meeting from the embedded WebEx application.
Zoom
Setting up the API connection to Zoom only requires an API key and Secret that need to be copied from the Zoom account that will correspond to this Virtual Account on Eventogy.
Comments
0 comments
Article is closed for comments.